Optimizing Your Terminal for Claude Code
You fire up Claude Code, and it immediately starts executing bash commands. Three seconds pass. Then another two. Your terminal is loading your bloated .zshrc with oh-my-zsh, nvm, pyenv, and a dozen other tools you’re not using right now. Meanwhile, Claude sits idle, burning tokens while waiting for your shell to wake up.
Then the commands start flying. Was that last git status from Claude or from you an hour ago? You scroll through an undifferentiated wall of output, trying to reconstruct what actually happened. Claude runs terraform plan for the fourth time today, and you’re re-entering your Vault token and AWS credentials because nothing persists between invocations.
This friction adds up. Sluggish shell startup, visual chaos, and repetitive credential management turn what should be a smooth AI-assisted workflow into a stop-and-wait experience.
This guide shows you how to turn iTerm2 into a Claude Code powerhouse. You’ll get subsecond shell startup, clear visual separation between Claude’s actions and yours, and persistent credential management that just works. While this guide targets macOS and iTerm2 specifically, the core concepts—lazy loading, visual markers, and credential caching—apply to any terminal setup.
Let’s fix this.
iTerm2 Features That Supercharge Claude Code
Command Tracking with Shell Integration
iTerm2’s shell integration marks every command prompt with a blue indicator in the left gutter. This becomes invaluable when Claude runs multiple commands—you can instantly see where each command starts and ends. Jump between commands with Cmd+Shift+Up/Down, and use Cmd+Opt+B to replay command output in a dedicated viewer.
When Claude executes a complex workflow, these visual markers transform continuous output into navigable checkpoints. You can quickly identify which commands succeeded, which failed, and reconstruct execution sequence without parsing timestamps.
# Enable iTerm2 shell integration
test -e "${HOME}/.iterm2_shell_integration.zsh" && source "${HOME}/.iterm2_shell_integration.zsh"
Visual Feedback with Status Bar & Badges
iTerm2’s status bar shows your current directory, git branch, and custom badges at the bottom of the window. I use a 🤖 badge when Claude Code is active, making it obvious which terminal sessions are under AI control—especially useful with split panes.
This at-a-glance awareness prevents confusion. You won’t accidentally type into a Claude-controlled terminal or wonder why commands aren’t completing (because Claude is still thinking). Configure this in iTerm2 → Preferences → Profiles → Session, where you can add variables like user.badge and display them in your status bar.
Project-Specific Helper Functions
Custom shell functions eliminate repetitive workflows. Instead of making Claude (or you) manually export Vault tokens and AWS credentials every single session, encapsulate them in a single command.
vault-aws-env() {
  export VAULT_TOKEN=$(op read --account my.1password.com "op://IT-Premium/Vault root token/credential")
  export AWS_PROFILE=mprokopov
  echo "✓ Vault token and AWS profile set"
}
I also define Terragrunt aliases (tg-init, tg-plan, tg-apply) that include common flags. Claude learns these shortcuts from your shell history and uses them consistently, shaving seconds off every infrastructure operation. Over dozens of daily invocations, those seconds compound into minutes of saved time. Functions like k-ctx for kubectl context switching or logs-follow for tailing production logs reduce cognitive load for both you and Claude.
Improved History for Better Context
Extended shell history (50,000+ entries with timestamps) gives Claude deeper context about your project patterns. Instead of working from recent commands, Claude can reference workflows from weeks ago, understanding your typical deployment sequence or debugging approach.
Configure this with HISTSIZE=50000, SAVEHIST=50000, and setopt SHARE_HISTORY in your .zshrc. Combined with iTerm2’s instant replay, you have a complete audit trail of every command Claude executed—invaluable when debugging why a deployment succeeded last week but fails today.
Why Fast Shell Startup Matters
The Problem: Death by a Thousand Startups
Most zsh configurations load everything at shell initialization: nvm scans directories for .nvmrc files, pyenv sets up shims, oh-my-zsh loads completion functions. Each tool adds 200-500ms. Multiply that across a Claude Code session where the shell spawns dozens of times, and you’re waiting 30-60 seconds cumulatively. When Claude runs git status, then terraform plan, then kubectl get pods, those pauses break flow and waste billable API time.
The Solution: Lazy Load Everything
Lazy loading defers initialization until you invoke a command. Your shell starts instantly, but nvm doesn’t load until you run node. Completion definitions get cached for 24 hours—rebuilding daily instead of every spawn. The result: shell startup drops from 2-3 seconds to under 500ms. Commands feel instant. Claude’s workflows execute without delays. You optimize for the 90% case where you don’t need every tool loaded, while keeping them available when required.
Key Techniques
- NVM lazy-loading: Stub function that loads nvm on first
node,npm, ornvminvocation - Cached completions: Generate completion files once per day, source the cache on startup
- Lazy command completions: Load kubectl, terraform, or gcloud completions only when commands are used
- Conditional loading: Skip Docker/Kubernetes setup if not running, check tool availability before sourcing
The Impact
Reducing shell startup from 2.5 seconds to 0.4 seconds transforms Claude Code. Commands execute immediately. Multi-step workflows feel fluid. Claude iterates faster without waiting on initialization. This performance foundation makes everything else possible—visual polish and credential management only matter if your shell doesn’t bottleneck the workflow.
Now let’s implement these optimizations.
Setting It Up
Prerequisites
You’ll need macOS with iTerm2, Zsh (default on modern macOS), and optionally 1Password CLI for credential helpers. Set aside 5-10 minutes to configure your shell and iTerm2 settings.
Enable Shell Integration
Add this to your ~/.zshrc to enable command markers, output capture, and display a robot badge when Claude Code is active:
# In your ~/.zshrc
test -e "${HOME}/.iterm2_shell_integration.zsh" && source "${HOME}/.iterm2_shell_integration.zsh"

# Add custom badge for Claude Code
if [ $ITERM_SESSION_ID ]; then
  function iterm2_print_user_vars() {
    if [[ -n $CLAUDE_SESSION_ID ]]; then
      iterm2_set_user_var claude_active "🤖"
    fi
  }
fi
Restart your shell to see blue markers in the left gutter. Configure badges in iTerm2 → Preferences → Profiles → Session → Status Bar.
Add Shell Optimizations
These settings improve glob handling, enable inline comments, and configure history tracking so Claude can reference your project patterns across sessions:
# Claude Code optimizations
setopt no_nomatch              # Don't error on unmatched globs
setopt interactive_comments     # Allow comments in interactive shells

# History configuration
HISTFILE=~/.zsh_history
HISTSIZE=50000
SAVEHIST=50000
setopt extended_history        # Add timestamps
setopt share_history           # Share between sessions
Extended history gives Claude context about workflows from weeks ago. Shared history ensures Claude sees commands from all your terminal sessions.
Lazy-Load NVM
This optimization saves approximately 2 seconds per shell startup by loading nvm on first use:
# Lazy-load NVM (saves ~2 seconds per startup)
export NVM_DIR="$HOME/.nvm"
nvm() {
  unset -f nvm
  [ -s "/opt/homebrew/opt/nvm/nvm.sh" ] && \. "/opt/homebrew/opt/nvm/nvm.sh"
  nvm "$@"
}
Your shell starts instantly. The function loads nvm on first use of nvm. Subsequent calls use the fully loaded nvm. For complete lazy-loading that intercepts node and npm calls too, see the gist linked below.
iTerm2 Manual Configuration
Configure these settings through iTerm2’s preferences:
- Status bar: Go to Preferences → Profiles → Session, enable status bar, add components like current directory, git branch, and
user.claude_activefor the badge - Font: Use a nerd font like JetBrains Mono for proper icon rendering
- Color scheme: Choose a scheme with good contrast (Solarized Dark, Dracula, or Nord work well)
- Split pane dimming: Enable dimming inactive panes to keep focus clear
These visual enhancements make Claude’s activity immediately obvious and reduce context switching overhead.
Test Your Setup
Validate your shell startup performance with this benchmark:
# Benchmark your shell startup
time zsh -i -c exit
# Should show: zsh -i -c exit  0.XX total (under 0.5s)
If your startup exceeds 0.5 seconds, identify slow-loading tools with zprof or check for blocking network calls. Open a new terminal and verify the command markers appear and that history works across sessions.
For complete configurations including additional lazy-loading patterns, cached completions, and project-specific helper functions, see this gist.
Taking It Further
Full Configuration
For complete .zshrc snippets and iTerm2 setup, see this gist. The gist provides comprehensive examples including additional lazy-loading patterns for kubectl and terraform completions, cached completion strategies, project-specific helper functions, and advanced shell configuration options that weren’t covered in this guide.
Optional Enhancements
Consider these additions:
- FZF: Fuzzy history search with Ctrl+R for instant command recall through thousands of historical commands
- Window arrangements: Save split-pane layouts for different workflows, enabling consistent environment setup for development or operations
- Helper functions: Docker Compose shortcuts, database connections, deployment workflows that encapsulate multi-step operations
Adaptation Guide
Start with performance wins—lazy loading and shell optimizations deliver immediate value. Then add visual features and helper functions based on your needs. Skip what doesn’t serve your workflow. The goal is productivity, not elaborate configurations.
Make It Yours
These optimizations transformed Claude Code into my primary development interface—instant commands, clear visual markers, seamless credentials. Your terminal should enhance workflow, not obstruct it. Share what works for your setup.
How I Use AI to Automate Daily Planning with Obsidian
I’ve tried GTD, bullet journals, Notion, Roam, and probably a dozen apps I’ve already forgotten. They all failed for me. Not because they’re bad tools, but because I’d always find excuses not to open them.
Obsidian stuck. It’s local-first, plain markdown, fast. But even with Obsidian, I kept abandoning my daily notes. The friction of “open app → find today’s file → remember the format → actually write something” was enough to break the habit.
So I cheated.
What I built
I run OpenClaw on my home server. It’s an open-source AI assistant that connects to Telegram and can read/write files. I pointed it at my Obsidian vault.
Every morning at 6 AM, it messages me:
What do you plan for today? Personal goals? Work? Side projects?
I answer while making coffee. One thumb, half awake. The AI takes my rambling and turns it into a proper daily note with sections, checkboxes, timestamps.
At 7 AM, it sends me what I actually did yesterday. Seeing the gap between plans and reality every morning is… humbling. But useful.
Why this works for me
I’m an SRE. I think about systems. The old workflow had too many steps where I could fail: remember to open the app, navigate to the right file, context switch from whatever I was doing. Each step was a chance to say “eh, later.”
The new workflow has one step: reply to a Telegram message. I’m already in Telegram constantly. Building on an existing habit instead of creating a new one made all the difference.
Technical bits
OpenClaw runs as a systemd service. It’s basically an LLM with filesystem access. My vault syncs via Syncthing between Linux and Mac machines. iOS gets Obsidian Sync because Syncthing on iOS is painful.
The AI keeps:
- Daily notes as
YYYY-MM-DD.md - Memory files so it remembers context between sessions
- Cron jobs for the morning prompts
Memory with PARA and Atomic Facts
The interesting part is how we organized the AI’s long-term memory. I use PARA (Projects, Areas, Resources, Archives) combined with atomic facts and memory decay.
The structure:
life/
├── projects/       # Active work with deadlines
├── areas/
│   ├── people/     # Important relationships
│   └── companies/  # Organizations I work with
├── resources/      # Topics I'm learning
└── archives/       # Done or inactive
Each entity has two files: a summary (markdown) and atomic facts (JSON).
Atomic facts
Not paragraphs. Small, standalone pieces of knowledge:
{
  "fact": "Mass Prokopov prefers mass Americano with oat milk",
  "learnedAt": "2026-01-15",
  "lastAccessed": "2026-02-08",
  "source": "daily-note"
}
Each fact tracks when it was learned, when last accessed, and where it came from. This metadata drives everything else.
Memory decay
Facts decay based on lastAccessed:
- Hot (< 7 days) — appears in summaries, high priority
- Warm (8-30 days) — in summaries, lower priority
- Cold (30+ days) — searchable only, not in working context
Something I mentioned yesterday is top of mind. Something from three months ago fades but can be recalled when needed.
The AI runs a weekly job to recalculate what’s hot and regenerate summaries. This keeps context fresh without manual curation.
Everything is plain text. If OpenClaw dies tomorrow, I still have markdown and JSON files I can grep.
Capturing random thoughts
This changed how I work more than the morning routine did.
Walking somewhere, idea pops up: “message: add task — review the DR runbook before Monday.” Done. It’s in today’s note, properly formatted, I didn’t stop walking.
Compare that to: pull out phone, unlock, find Obsidian, wait for sync, navigate to today, scroll to tasks section, type, close app. I’d never do that. Now I actually capture things.
What I learned
Build on habits you already have. Fighting yourself is exhausting. I was already checking Telegram fifty times a day, so I made that the input.
Plain text ages well. I’ve lost data to apps that pivoted, shut down, or changed their export format. Markdown files on disk will outlive all of them.
Structure is boring but necessary. I don’t want to think about formatting when I’m half awake. Offloading that to the AI means I just dump thoughts and they end up organized.
What’s next
I want to see if there are patterns in my notes. Which tasks keep getting pushed? Which goals actually move forward? Months of daily notes should have some signal in there. Haven’t built that yet, but I’m curious.
If you’re doing something similar, let me know. I’m always interested in how other people hack their own productivity.
Related: Obsidian 1.12 shipped a CLI that makes this setup even cheaper — read why your AI agent just got 70,000× cheaper to run.
Cable Management
Cable Management is an interesting topic for me, as my passion towards tech gadgets encourages spending some money during black friday on something fascinating. Typically, it’s one of the “next one more thing”.
Creating a distraction free space is crucial for creativity. Cluttered space creates tention, hindering the productivity. It’s so important to keep the place nicely organized!
Here is a couple of cable management solutions I tried at my home.
Magnetic cable organizer by Anker
- Magnetic pieces attached to the cables
- Magnetic plank sticked to the surface

Dissadvantages:
- Depends on the size of the cable, the attached part can slide over to another end, making the use complicated
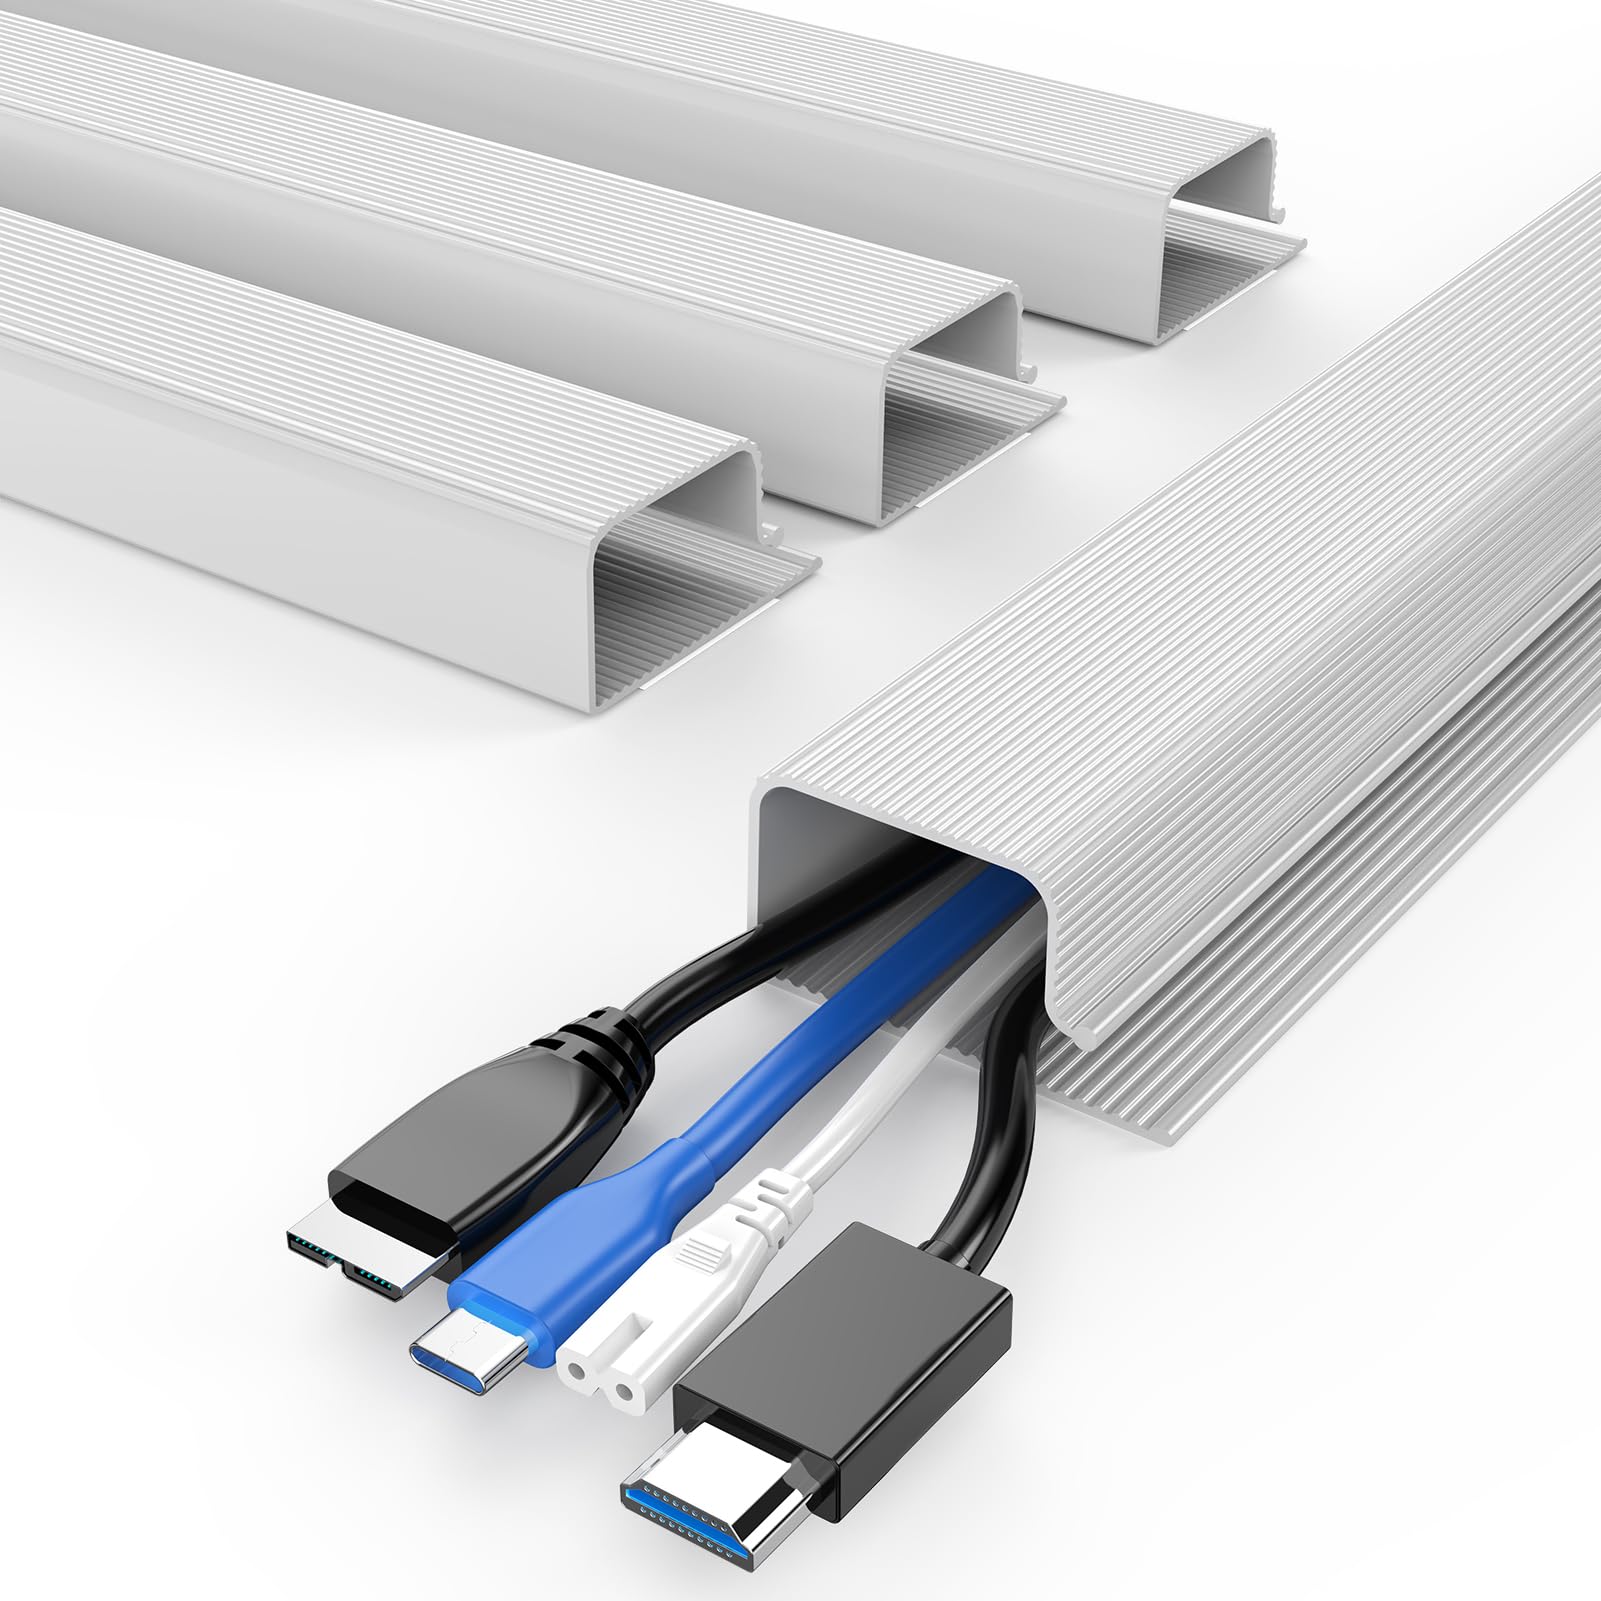
Non-magnetic cable organizer by noname

- Doesn’t require anything extra
Cable ties for binding together
- Simple
- Just works
- You likely need more of these

Cable ties for storage
- Good for storing cables organized
- Perfect for packaging for travel


What helps you to stay organized and unclutter the space?